The First Things to Do When Settings Up Windows 11 – Part 3 – Notifications, Web Browser, PatchMyPC

This is Part 3 of my How To blog post series on the steps I recommend when setting up Windows 11. This post covers notifications, choosing a web browser, and using PatchMyPC to update programs.
Alright, let's get started.
Blog Posts in This Series:
- Part 1 - The First Things To Do When Setting Up Windows 11 - Factory Reset, Windows Update, App Updates, Taskbar and Start Menu
- Part 2 - The First Things To Do When Setting Up Windows 11 - Desktop Icons, Removing Pre-installed Programs, Startup Items
- Part 3 - The First Things to Do When Settings Up Windows 11 - Notifications, Web Browser, PatchMyPC
- Part 4 - The First Things To Do When Setting up Windows 11 - Hibernate and Sleep, File Extensions, Lock Screen Ads and Tips
- Part 5 - The First Things To Do When Setting Up Windows 11 - Disable File Explorer Ads, Enable System Restore
Windows Notifications
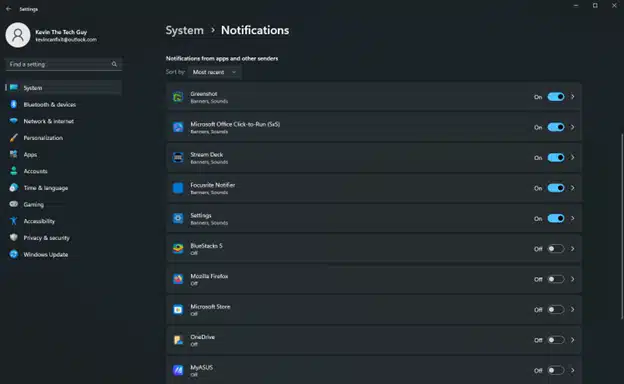
Out of the box, every single installed app can show you notifications in Windows 11 as little pop-up messages at the bottom right of your screen above the System Tray that includes the clock and so forth.
To manage these notifications, first open up the Start Menu. Then click on “Settings”.
Head over to the System page and choose “Notifications” on the left-hand pane. There are sliders for each app you can enable or disable, as you can see above.
You can always change these later. These settings can be particularly useful for those who find notifications overwhelming or distracting.
Your Web Browser of Choice
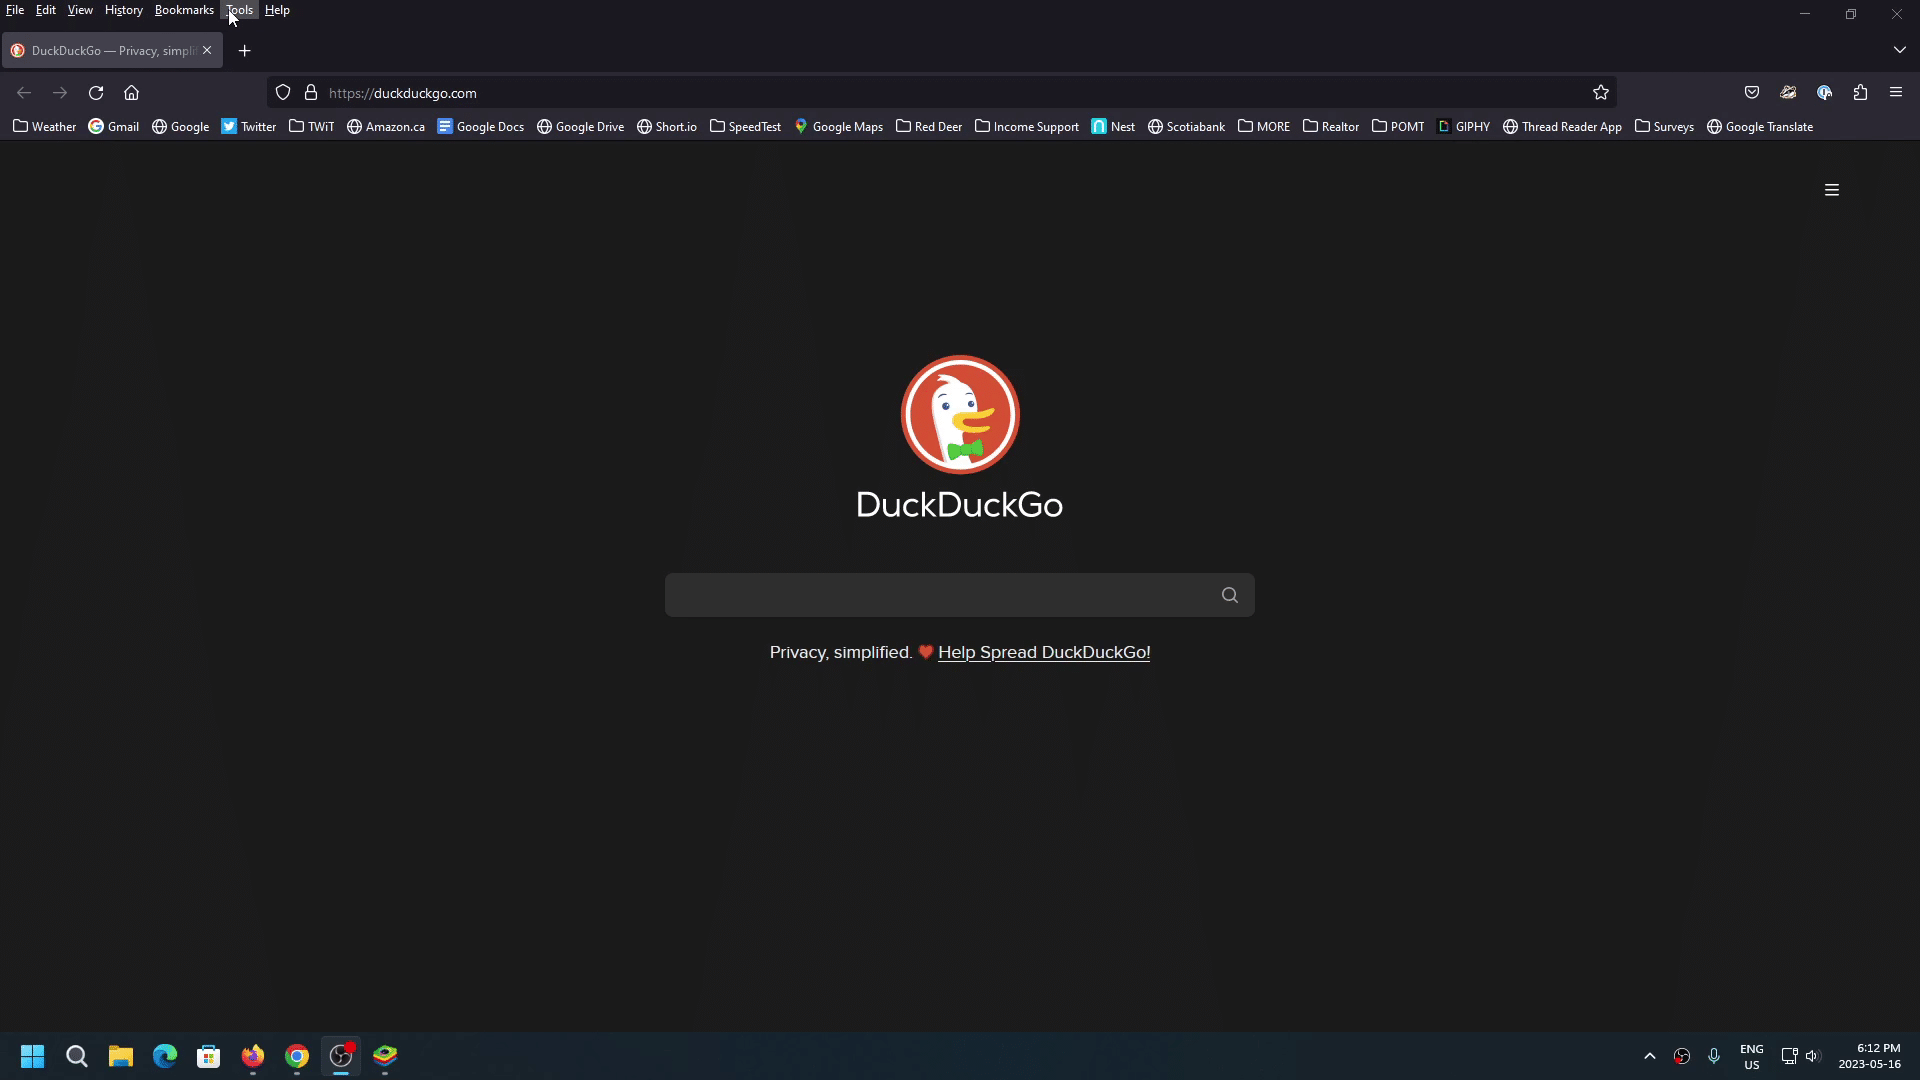
I recommend using Firefox, Chrome, or even Brave. My main browser is Zen Browser, a fork of Firefox. Some websites don’t play nice with one or the other, so it’s good to have multiple at hand.
When you open your browser for the first time, it’ll give you the option to set it as the default. This means that whenever you click on a link, for the most part, it’ll open in that browser.
PatchMyPC
WIth our computers now constantly connected to the internet, any vulnerability in any program could potentially be used as a way to access our computers, though most of the time it’s unlikely and targeted. That said, keeping programs up to date better ensures our computers remain reliable and secure.
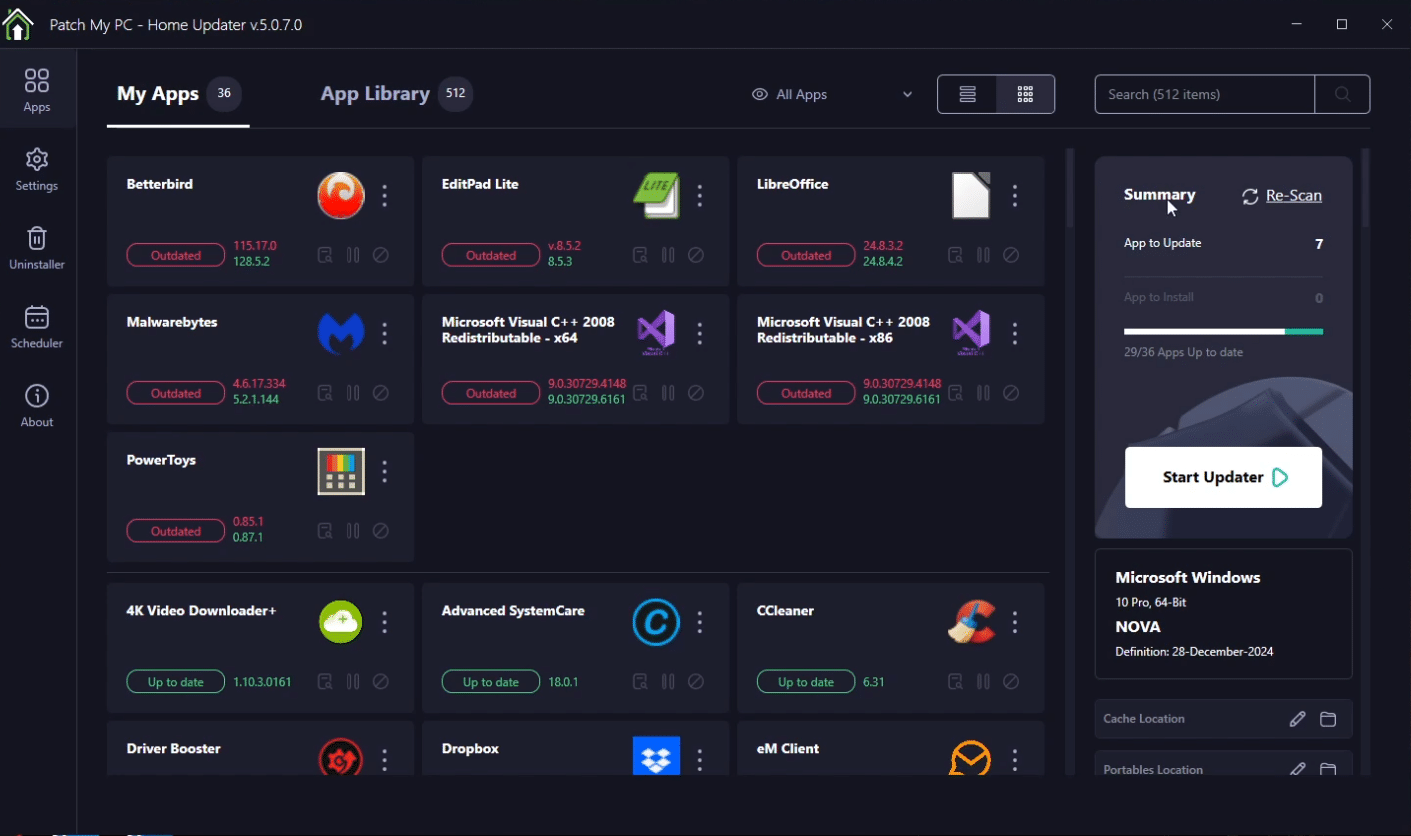
My go-to is PatchMyPC, an all-in-one installer for hundreds of the most commonly used programs. View my Kevin's Picks page about PatchMyPC here.
For many years, it was a portable installer, meaning you didn't need to actually install PatchMyPC on your computer in order to use it. That version has been discontinued. The version released in 2024 does need to be installed to be used, because it does a lot more (for better or worse) than the old version of PatchMyPC.
I will create a video and blog post about the new version of PatchMyPC.
Blog Posts in This Series:
- Part 1 - The First Things To Do When Setting Up Windows 11 - Factory Reset, Windows Update, App Updates, Taskbar and Start Menu
- Part 2 - The First Things To Do When Setting Up Windows 11 - Desktop Icons, Removing Pre-installed Programs, Startup Items
- Part 3 - The First Things to Do When Settings Up Windows 11 - Notifications, Web Browser, PatchMyPC
- Part 4 - The First Things To Do When Setting up Windows 11 - Hibernate and Sleep, File Extensions, Lock Screen Ads and Tips
- Part 5 - The First Things To Do When Setting Up Windows 11 - Disable File Explorer Ads, Enable System Restore
Thank you so much for reading this blog post! You can keep up to date with my latest posts right here on KevinTheTechGuy.ca, or via the RSS feed. You can also check out my FREE newsletter. Please consider supporting my work directly, or using Buy Me a Coffee! Your support makes my work possible.


