The First Things To Do When Setting up Windows 11 – Part 4 – Hibernate and Sleep, File Extensions, Lock Screen Ads and Tips
This is Part 4 of my blog post series on the steps I recommend when setting up Windows 11. This post covers hibernation and sleep, file extensions, and disabling ads and tips on the Lock Screen.
Paid subscribers can enjoy more detailed, ad-free posts, including this post. Please subscribe for $5 per month, and gain access to many more benefits as well! Your support makes my work possible.
Blog Posts in This Series:
- Part 1 - The First Things To Do When Setting Up Windows 11 Windows Update, App Updates, Taskbar and Start Menu
- Part 2 - The First Things To Do When Setting Up Windows 11 - Desktop Icons, Removing Pre-installed Programs, Startup Items
- Part 3 - The First Things to Do When Settings Up Windows 11 - Notifications, Web Browser, PatchMyPC
- Part 4 - The First Things To Do When Setting up Windows 11 - Hibernate and Sleep, File Extensions, Lock Screen Ads and Tips
- Part 5 - The First Things To Do When Setting Up Windows 11 - Disable File Explorer Ads, Enable System Restore
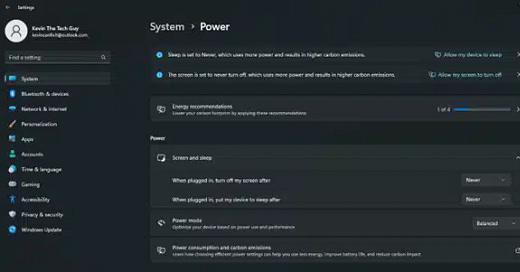
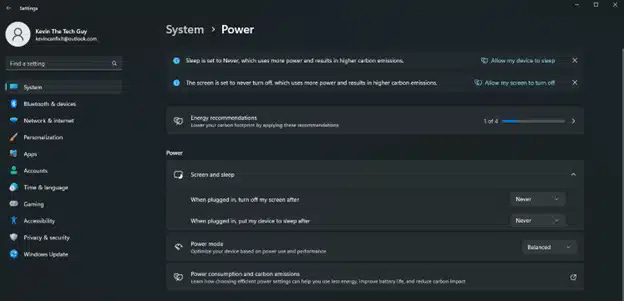
Hibernation and Sleep
Windows 11 displays different tips and even ads on your lock screen, where you enter your password to login.
To disable these and just have a photo there, open Settings via the Start Menu. Click on “Privacy and Security”. Under “Windows permissions”, click on “General”.
Then, as you can see above, hit the switch next to “Let apps show me personalized ads by using my advertising ID”, and “Show me suggested content in the Settings app”.
Then go back to the “System” page, and click “Notifications”. Scroll down to “Additional Settings”, and click it. Uncheck “Offer suggestions on how I can setup my device”, and “Get tips and suggestions when I use Windows”.
Disable File Explorer Ads
You know you’ve seen them. If not, you might in the future. Click on “File Explorer” next to the Start Menu and click the three dots next to “view” near the top of the window. Then click “Options”, and under “Advanced Settings”, uncheck “Show sync provider notifications”.
Lock Screen Ads and Tips
To disable these and just have a photo there, open Settings via the Start Menu. Click on “Privacy and Security”. Under “Windows permissions”, click on “General”. Then, hit the switch next to “Let apps show me personalized ads by using my advertising ID”, and “Show me suggested content in the Settings app”.
I cover these steps in more details on my Patreon, so please consider subscribing to access that and many other benefits for as little as $5 per month.
Blog Posts in This Series:
- Part 1 - The First Things To Do When Setting Up Windows 11 Windows Update, App Updates, Taskbar and Start Menu
- Part 2 - The First Things To Do When Setting Up Windows 11 - Desktop Icons, Removing Pre-installed Programs, Startup Items
- Part 3 - The First Things to Do When Settings Up Windows 11 - Notifications, Web Browser, PatchMyPC
- Part 4 - The First Things To Do When Setting up Windows 11 - Hibernate and Sleep, File Extensions, Lock Screen Ads and Tips
- Part 5 - The First Things To Do When Setting Up Windows 11 - Disable File Explorer Ads, Enable System Restore
Thank you so much reading this blog post! You can keep up to date with my latest posts right here on KevinTheTechGuy.ca, on my Patreon, on BlueSky, via the RSS feed, and on my Social Media accounts. Just search for Kevin The Tech Guy! To find more content about the topics I cover, and other perks, please consider subscribing to my paid content! Your support makes my work possible.