Bit Warden: How To Install and Use The Firefox Plugin
This post shows you how to install and use the Bitwarden extension in Firefox for secure, hassle-free logins. I’ll guide you through each step so you can start using it right away.
In this blog post series, I am walking you through how to download, install, and use the password manager Bit Warden. It has a FREE version, including the standalone desktop application and browser plugins for Firefox, Chrome, and Edge to assist you with logging into websites securely. I will also walk you through how to use Bit Warden in Firefox as an example.
In this blog post, I will walk you through installing and using The Bit Warden Extension for Firefox.
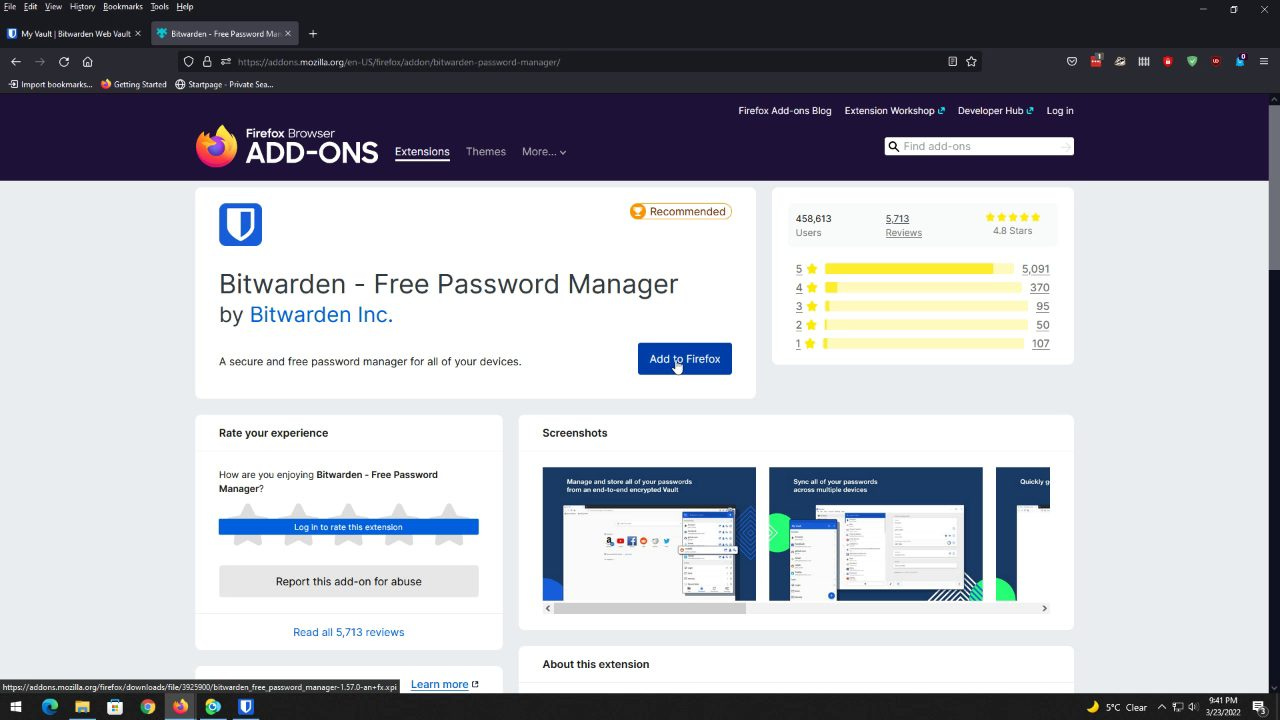
To install the Firefox extension, please go to BitWarden.com, click the “Download” link at the top, scroll down, and look for “Web browsers.” Then, click “Firefox” to be sent to the page where you can add the extension to Firefox.
Free Guides to Help You Get Started
This How-To Guide Series for 1Password is completely free. Although 1Password itself is not free, I believe everyone should have access to this kind of basic information and essential tools to eliminate any fears or hesitations regarding using 1Password. If you find this helpful, I’d greatly appreciate your support for a $5/month membership on this website. Prefer a one-time option? You can also support me through Buy Me a Coffee.
Installing the Firefox Plugin
To install the Firefox extension, please go to BitWarden.com, and click the “Download” link at the top, then scroll down a bit and look for “Web browsers”. Please click “Firefox” to be sent to the page to add the extension to Firefox.
On the extension page, please click the “Add to Firefox” button.
You will be prompted to confirm that you want to install the Bit Warden extension to Firefox. Don’t let the wording here scare you. It simply means Bit Warden will be able to recognize important information in web forms and logins you fill out and it will offer to save that information for you.
The extension is now installed, but you still need to login to your Bit Warden account to use it.
Please click the Bit Warden extension icon in the upper right hand corner of Firefox.
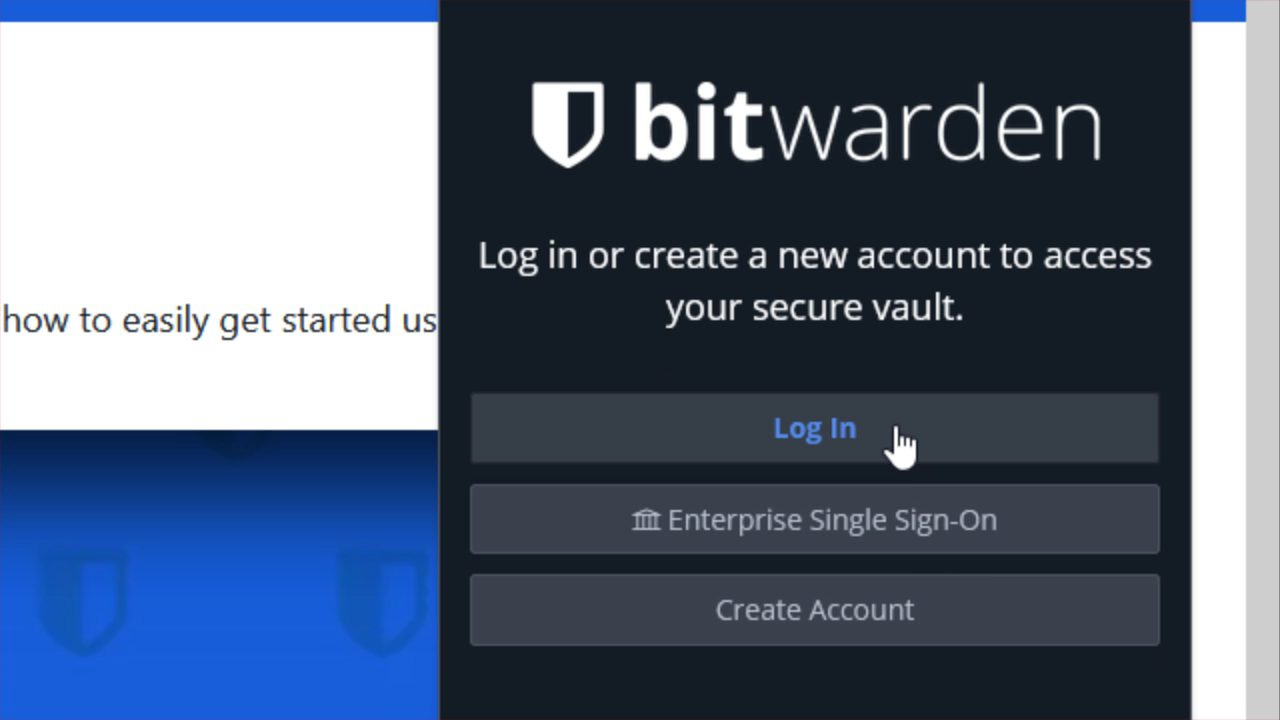
Next, please click the “Log In” button.
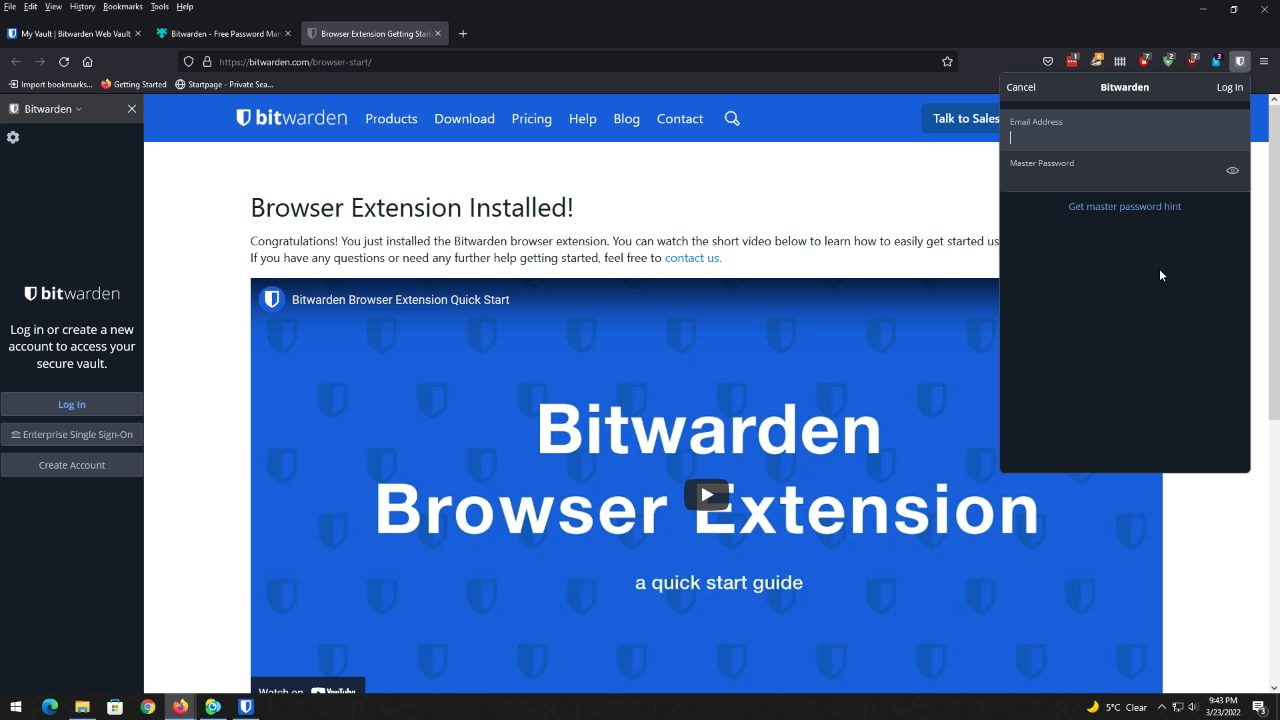
You can now enter your Bit Warden username and password. You’ll also need to complete a CAPTCHA (select 4 float planes, for example).
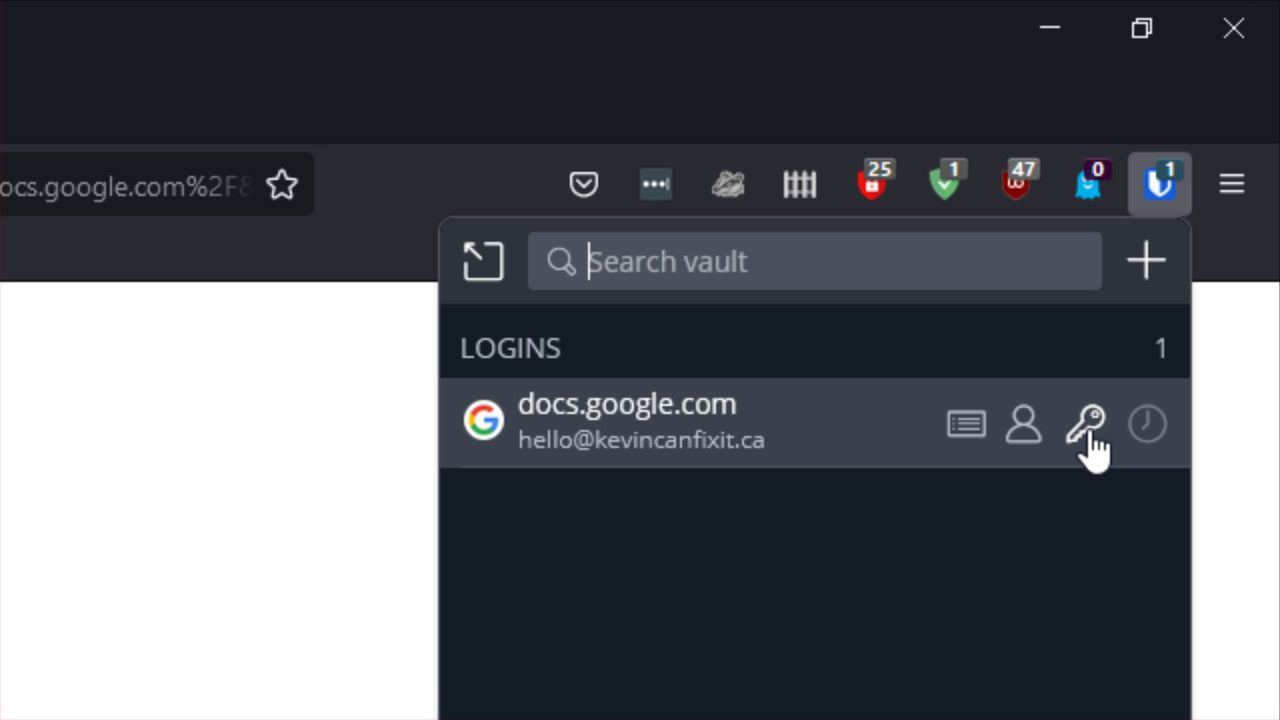
From now on, when you visit that website you want to log into, please left-click the Bit Warden icon in the Extensions area in the upper right-hand corner of Firefox, and click either the “username” or “password” symbols to copy that information to your Windows clipboard temporarily (it will be automatically removed from the clipboard shortly) and paste that into the username or password field as needed.
You can now visit any website you want to login to.
That’s how you can install and use the Bit Warden Firefox Plugin (Add-on). For the next post in this series, please check out How To Install and Use the Bit Warden Extension for Google Chrome.
Otherwise, please check out the main blog post How To Download, Install, and Use Bit Warden.
Jump To:
How To Download, Install, and Use Bit Warden
Download, Install, and Use the Bit Warden Standalone App
Installing and Using the Firefox Extension
Installing and Using the Chrome Extension
Please Support My Work
Thank you so much for reading this blog post! Please consider supporting my work directly, or using Buy Me a Coffee! Your support makes my work possible.


