Quick Tip: How Do You Take a Snapshot in VLC, and Where Does VLC Save Snapshots in Windows?
Want to grab a still image from a video in VLC? Here's how to take a snapshot and find exactly where VLC saves it on your computer.
Ever watched a video in VLC Media Player and wanted to capture a perfect moment? Maybe a funny reaction, a cool frame, or just something worth saving? Good news—you can take snapshots in VLC with just a click (or a keyboard shortcut), and I’ll walk you through exactly how to do it.
Taking a Snapshot in VLC
VLC makes taking a screenshot super easy. Here are three ways to do it:
Use the Keyboard Shortcut
On Windows: Press Shift + S
On macOS: Press Command + Option + S
On Linux: Press Ctrl + Alt + S
Click the Snapshot Button
If you prefer using the mouse, there’s a dedicated snapshot button:Play your video in VLC.
Right-click anywhere on the video, go to Video, and select Take Snapshot.
Use the Menu Bar
Click Video in the top menu.
Select Take Snapshot from the dropdown.
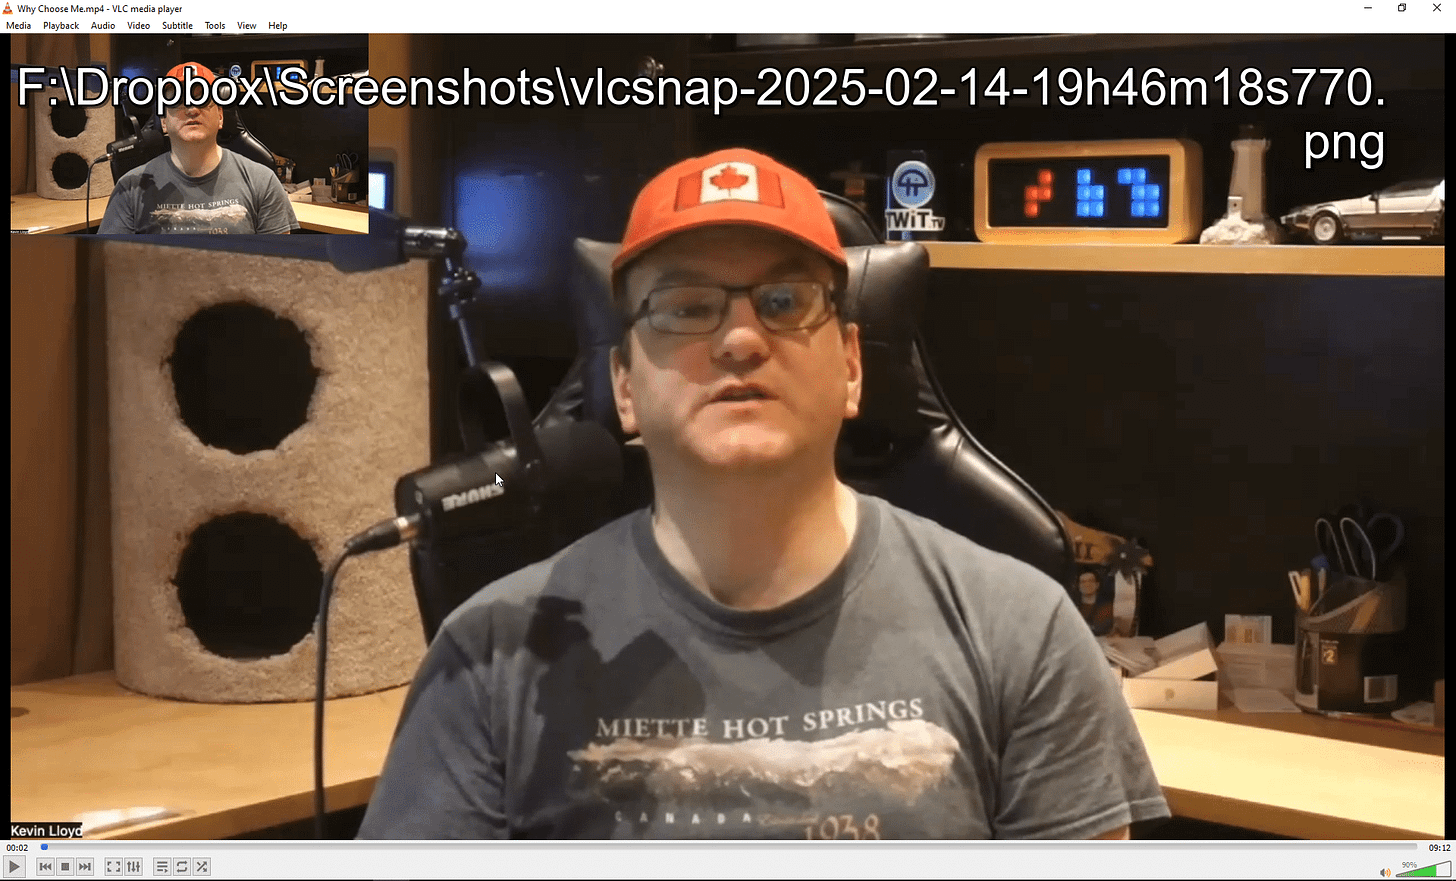
Every time you take a snapshot, VLC will briefly display a thumbnail preview and a message confirming that the image was saved. But where does it go?
Where Are VLC Snapshots Saved in Windows?
By default, VLC saves snapshots in your Pictures folder. Here’s the exact location:
C:\Users\YourUsername\Pictures
So if you’ve taken a screenshot and can’t find it, open File Explorer and navigate to your Pictures folder. The files are usually saved in PNG format with names like vlcsnap-YYYY-MM-DD-HHMMSS.png.
How to Change the Default Snapshot Save Location in VLC
Want to save snapshots somewhere else? Maybe a dedicated folder for video screenshots? Here’s how to change the default save location:
Open VLC and go to Tools > Preferences (or press Ctrl + P).
At the bottom-left, switch from Simple to All settings.
In the left-hand menu, scroll down and click Video.
Look for Video snapshots and find the Directory field.
Click Browse and select your preferred folder.
Click Save and you’re all set!
Now, every time you take a snapshot, VLC will save it in your chosen location instead of the default Pictures folder.
Final Thoughts
Taking snapshots in VLC is quick and easy, and now you know where to find them and how to change the save location. Whether you’re capturing frames from a movie, tutorial, or a funny moment in a video, VLC makes it effortless.


