How To Install Windows 11 Without A Microsoft Account
You may not want to use a Microsoft Account, but they make it challenging to install Windows 11 without one. That said, there are many benefits to a Microsoft Account, as noted below.
Here's how to setup a Local Account, based on your computer and NOT in the cloud, during Windows 11 setup. Please note that this process does NOT work during a Windows Reset.
IMPORTANT: You MUST disconnect your computer or laptop from the internet (WiFi or wired) for these steps to work. You can reconnect the internet once you're back in Windows.
Paid subscribers have access to a more detailed version of this blog post, including close ups of the features I talk about, a spoken word version for those who prefer to listen, and other benefits. Please consider supporting my work for as little as $5 per month.
IMPORTANT: One of the steps mentioned below involves setting up and formatting partitions. This is a very risky thing to do if you have more than one hard drive or solid state drive, as you want to ensure you're working with the intended drive, as these actions CANNOT be undone. These steps are a guide. If you're not comfortable with the process, please have a local computer shop do the work instead. Refer them to this guide if necessary.
When installing Windows 11 from a USB thumb drive, go through the initial steps (including setting up and formatting partitions) to install Windows 11. Your computer will restart a couple of times, and when you end up on the first screen shown below, follow these steps.
With the internet disconnected, Windows 11 is unable to connect to Microsoft in order to force you to setup or use a Microsoft Account in order to finish installing Windows 11.
You'll see this screen asking you to connect to the internet. Ignore that and press SHIFT+F10 on your keyboard to open a Command Prompt window. Don't worry, this will be easy.
With the Command Prompt window open, simply type "OOBE\BYPASSNRO" without quotes and UPPERCASE, then hit "enter" on your keyboard. Windows 11 setup will automatically restart your computer, and you'll need to walk through the steps again back to the screen above.
Please note that this process and this command is completely legitimate, and created by Microsoft for this purpose for various reasons. They REALLY want you to use a Microsoft Account, BUT if you're savvy enough to follow these steps, they'll allow you to create a Local Account.
On the "Is this the right country or region", choose your country.
On the "Is this the right keyboard layout or input method?" screen, click "yes".
Now we're back on the screen asking you to connect your computer to the internet. You will now notice a "I don't have internet" link at the bottom. Please click that.
Now you will see a link saying "Continue with limited setup". Please click that.
This is just Microsoft trying to scare users into connecting to the internet and using a Microsoft Account.
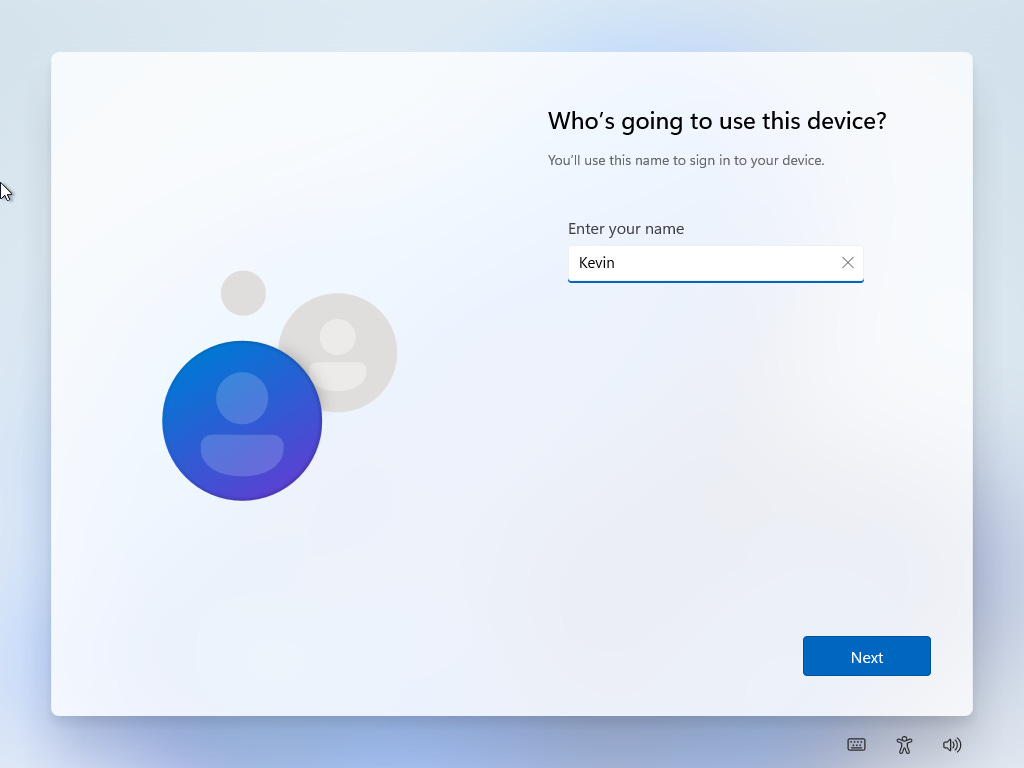
Now setup will finally let you setup a Local Account during Windows 11 setup. You will see a few more screen after this regarding setup, then you'll be in Windows 11. At that point, feel free to reconnect to the internet.
Thank you so much reading this blog post! You can keep up to date with my latest posts right here on KevinTheTechGuy.ca, on my Patreon, on BlueSky, via the RSS feed, and on my Social Media accounts. Just search for Kevin The Tech Guy! To find more content about the topics I cover, and other perks, please consider subscribing to my paid content! Your support makes my work possible.