Bit Warden: How To Install and Use the Bit Warden Standalone App
Get started with Bit Warden by installing the standalone desktop app. No browser plugins needed for this part. This post walks you through each step, from download to logging in securely.
In this blog post series, I am walking you through how to download, install, and use the password manager Bit Warden. It has a FREE version, including the standalone desktop application and browser plugins for Firefox, Chrome, and Edge to assist you with logging into websites securely. I will also walk you through how to use Bit Warden in Firefox as an example.
Please note that this does NOT install the browser plugins (add-ons) for Firefox, Chrome, or Edge. For instructions on how to do that, please visit those blog posts. Those links are at the bottom.
Free Guides to Help You Get Started
This How-To Guide Series for Bit Warden is completely free, because I believe essential tools and information should be free and available to all who need them. If you find these helpful, I’d greatly appreciate your support for $5/month on this website. Prefer a one-time option? You can also support me through Buy Me a Coffee.
Installing the Standalone App
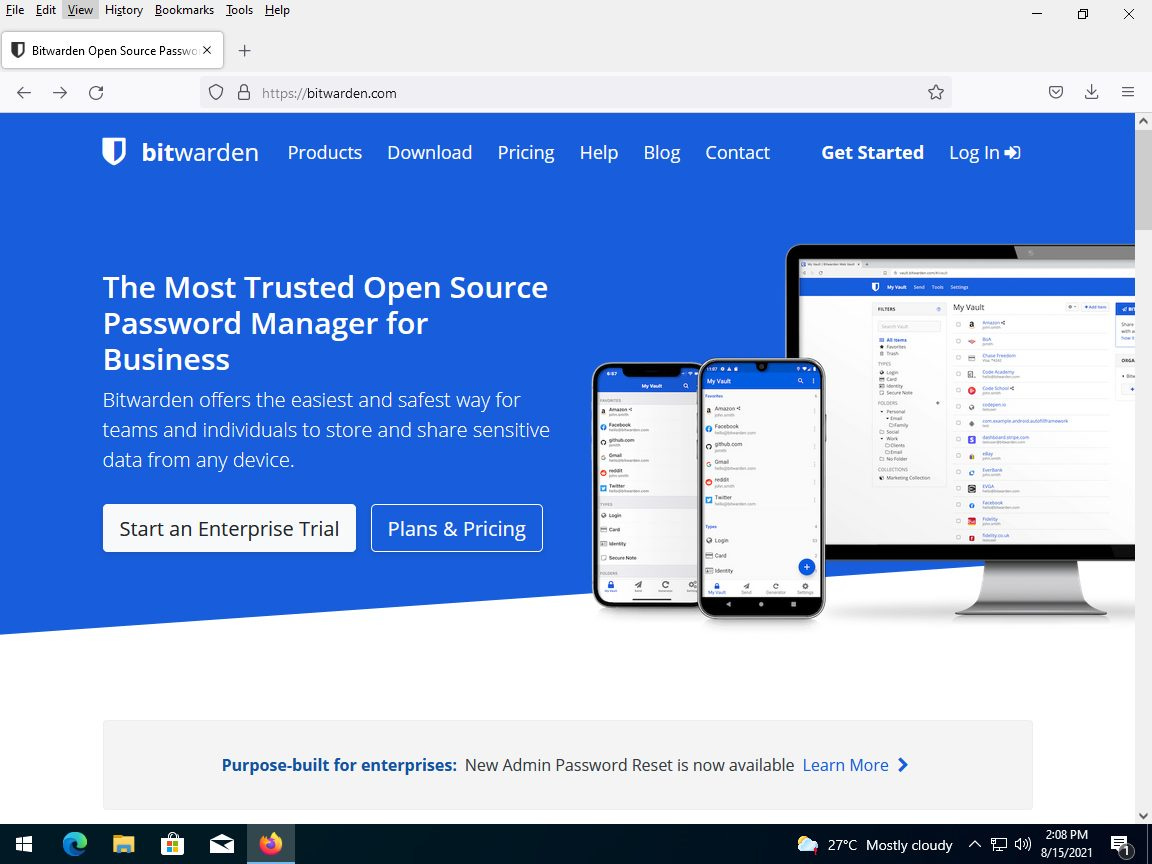
To download Bit Warden, please go to BitWarden.com.
Then, click on the “Pricing” link at the top of the page. Don’t worry, the account we’ll create is FREE.
Please click the “Personal” tab on the page, then click “Create A Free Account” under “Basic Free Account.”
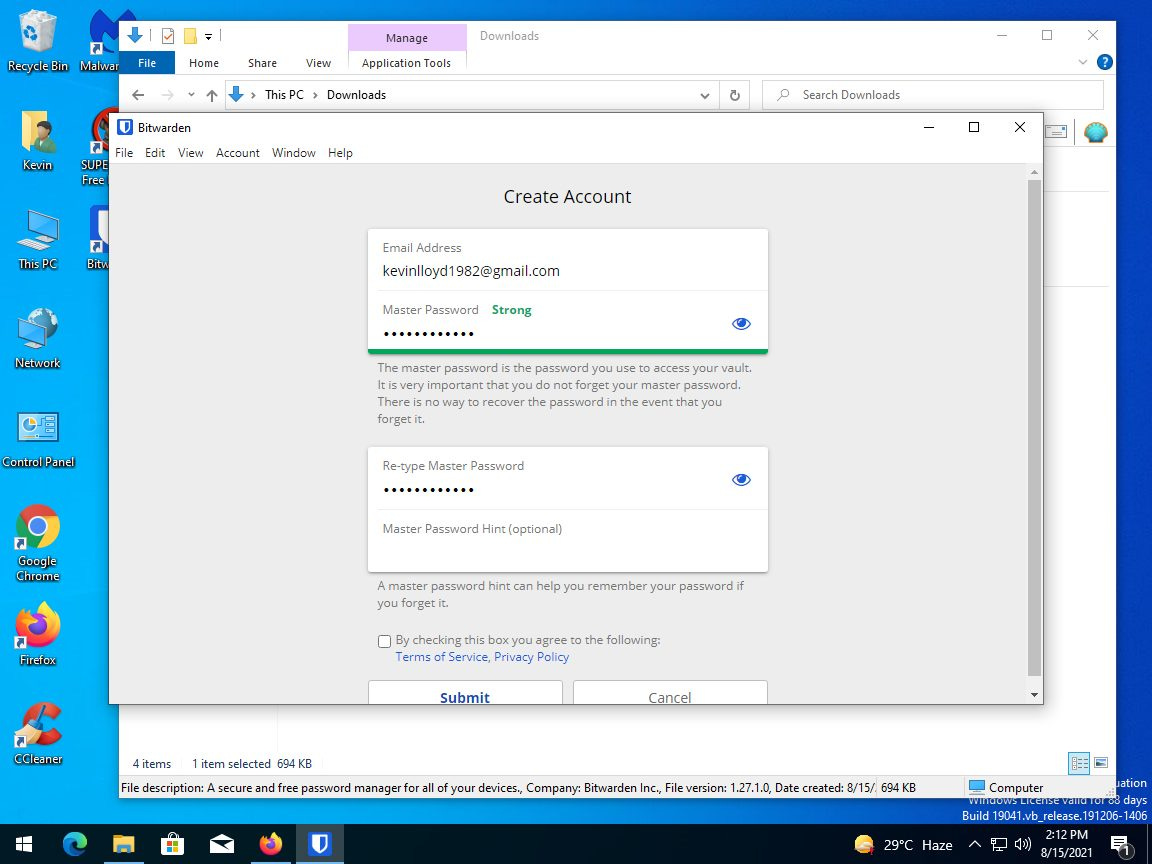
Please enter your details to create your new FREE account with Bit Warden, then click the “Submit” button.
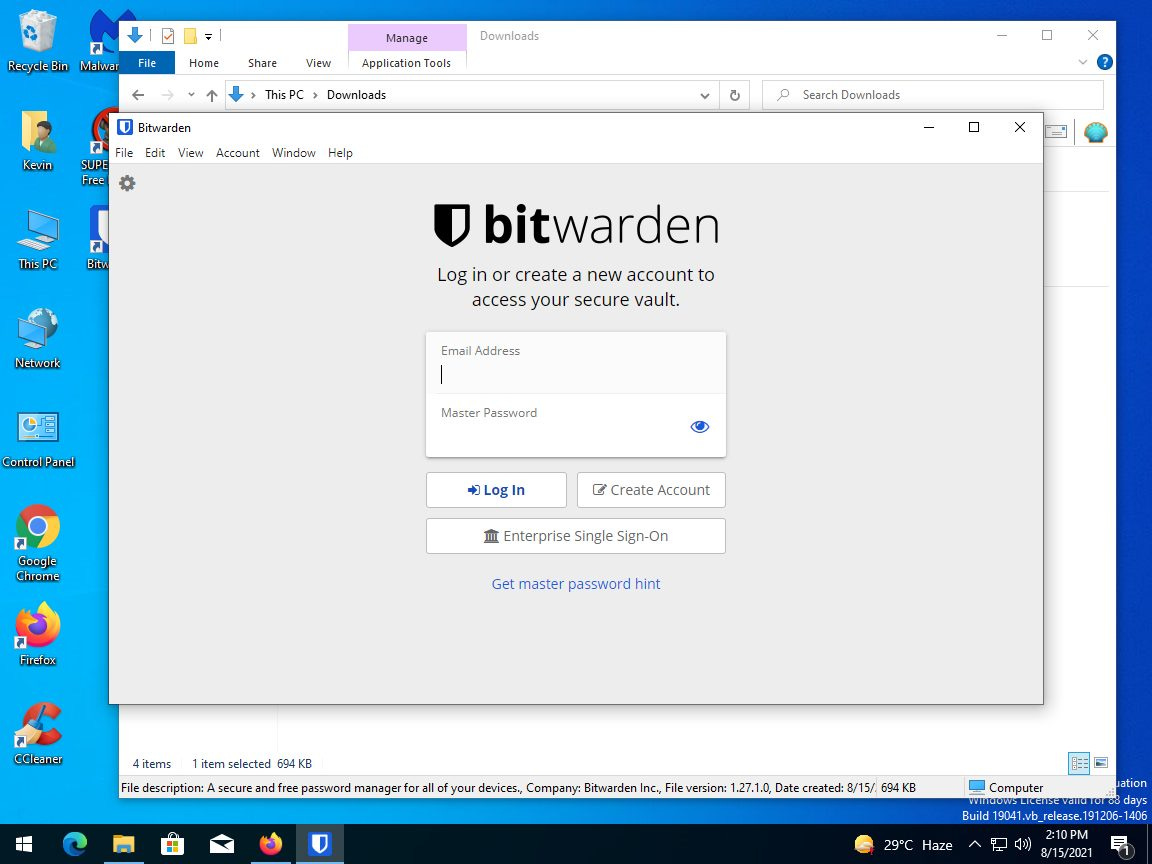
You will now need to login to your Bit Warden account for the first time.
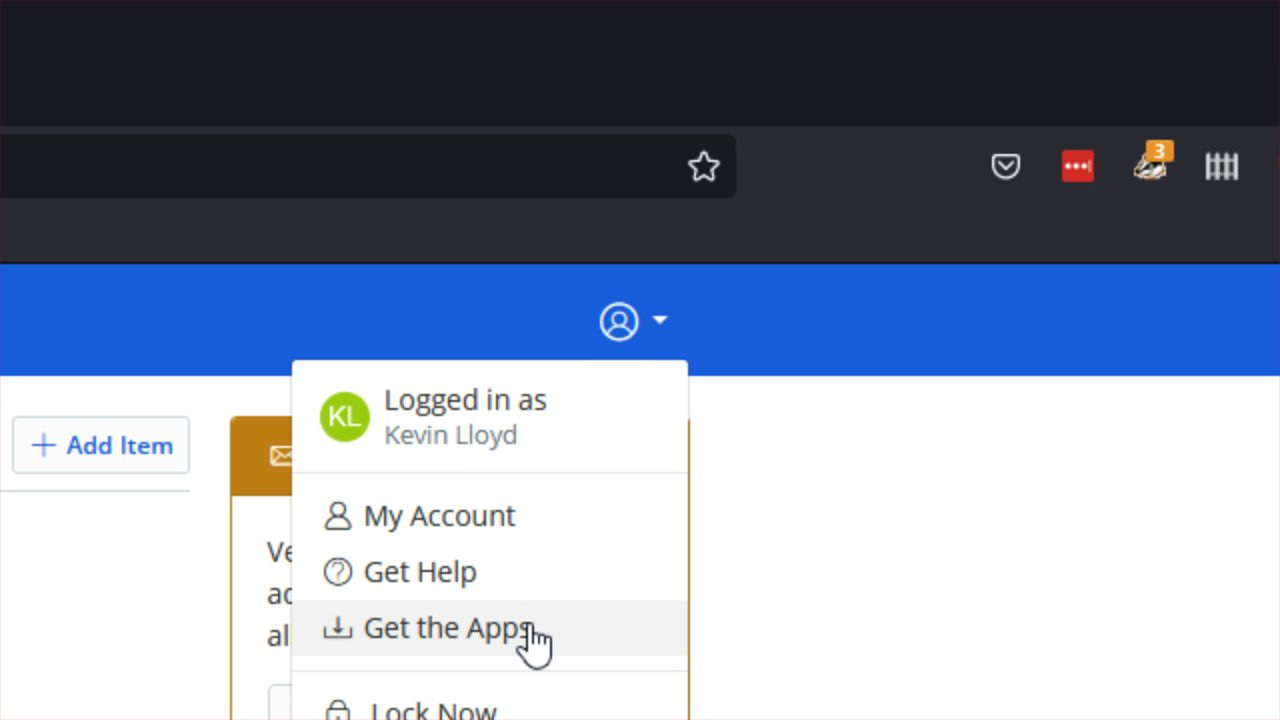
Once you’re signed in, please click the “profile” icon, and click “Get the Apps”.
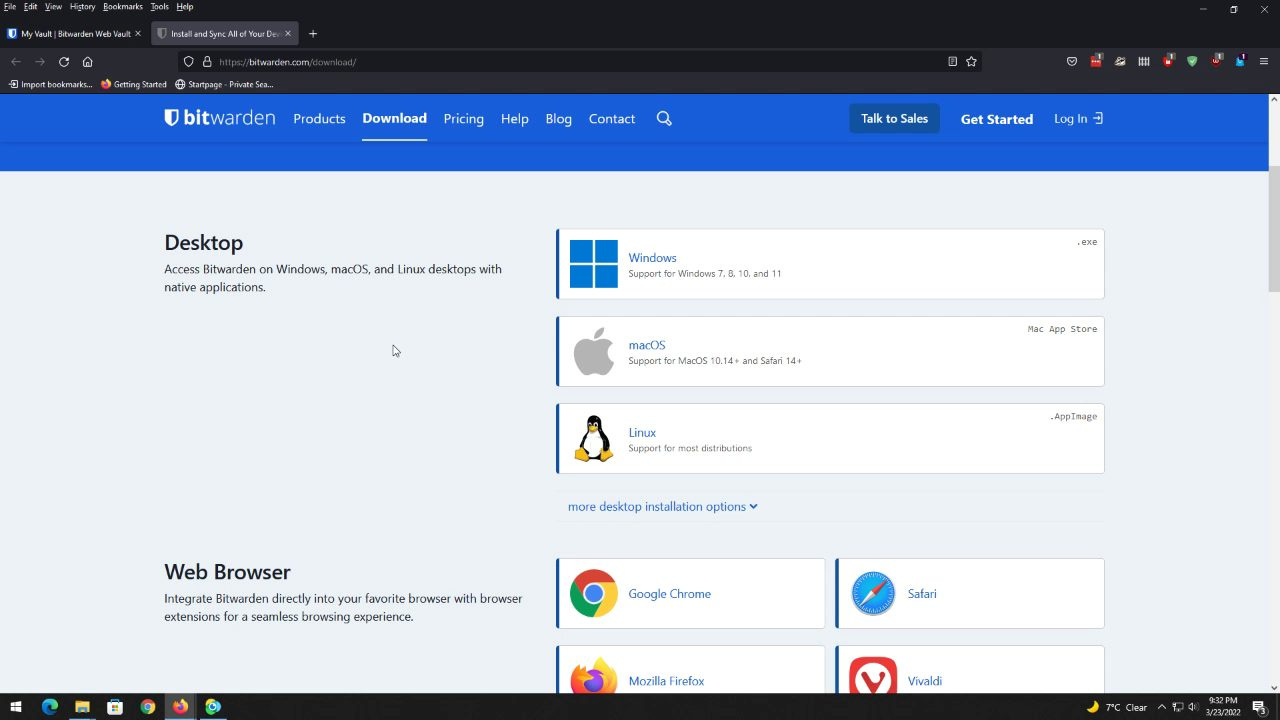
On the “Downloads” page, click the operating system you're using—in my case, Windows — to download the standalone installer, which will NOT install the browser plugins.
On the “Downloads” page, click the operating system you're using—in my case, Windows to download the standalone installer, which will NOT install the browser plugins.
Depending on your Firefox download setting, you may see this dialog box. Please confirm you’re downloading the file to your “Downloads” folder so you know where to find it, and click the “Save” button.
Using the Bit Warden Standalone App
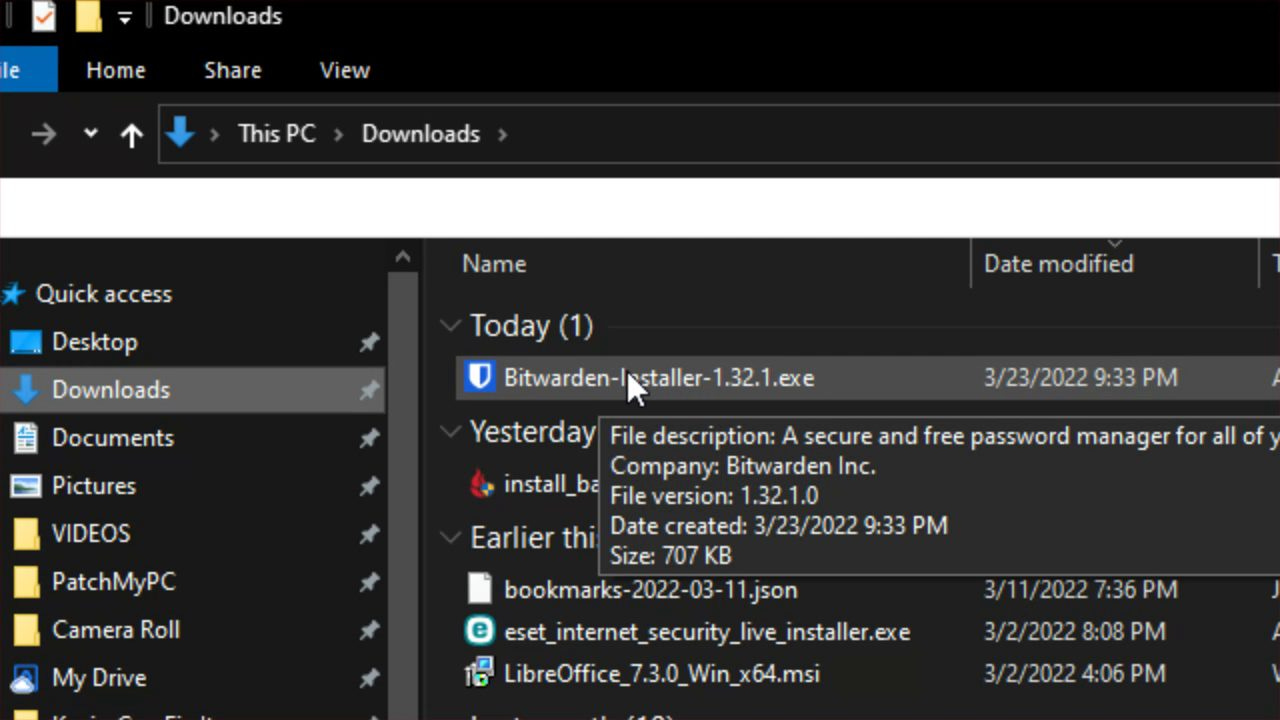
You can access the Downloads folder by clicking the folder icon near the Start Menu in Windows 10.
Then click on the “Downloads” folder on the left.
Next, please double-click the file you just downloaded to start the installation process.
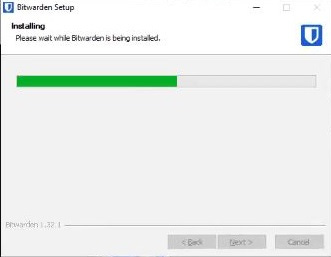
Bit Warden will now install on your computer.
The installation is now complete. Please leave the “Run Bitwarden” checkbox alone and click “Finish”.
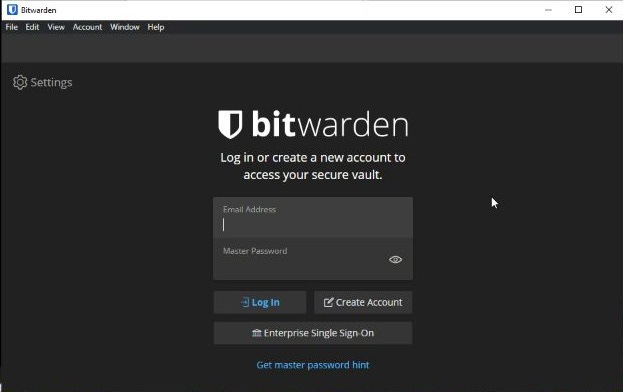
You can now log in to Bit Warden via the desktop application.
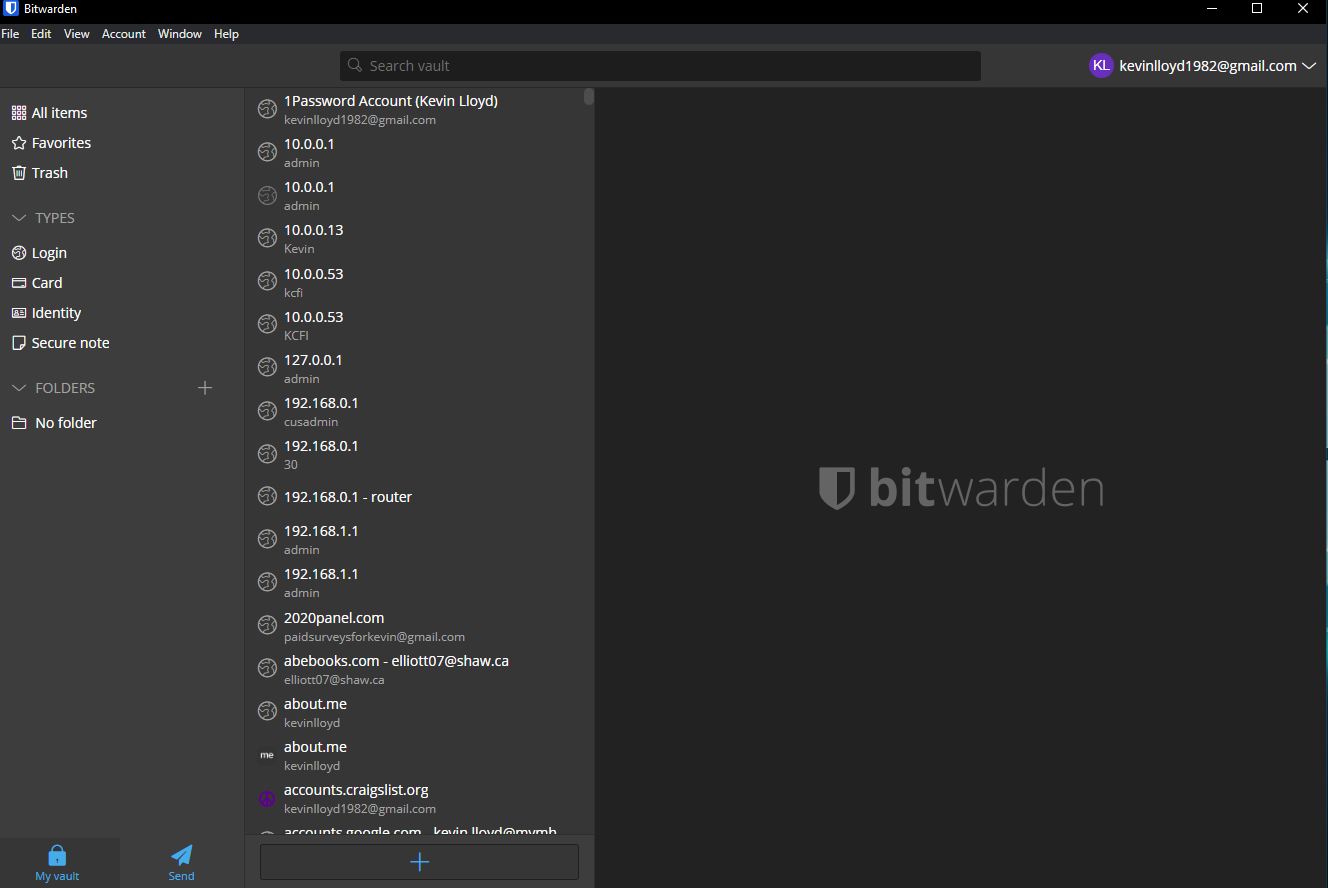
This is what the standalone Bit Warden desktop application looks like. you can make changes and add information to your account using this program.
The simplest way to use the standalone Bit Warden program is to login to it using your credentials. You won’t need Two-Factor Authentication here.
Scroll down the list ot the login you’re looking for. Left-click it, and left click the “copy” symbols next to the username, then paste that into the website you want to login to, and obviously do the same for the password.
That’s how you can install and use the standalone Bit Warden installer. For the next post in this series, check out How To Install and Use the Bit Warden Firefox Plugin (Add-on).
Otherwise, to install the Chrome, or Edge plugins, please check out those separate blog posts.
Jump To:
How To Download, Install, and Use Bit Warden
Download, Install, and Use the Bit Warden Standalone App
Installing and Using the Firefox Extension
Installing and Using the Chrome Extension
Please Support My Work
Thank you so much for reading this blog post! Please consider supporting my work directly, or using Buy Me a Coffee! Your support makes my work possible.


